f-log

just another web log

29 Apr 2017:
sd card rendered with background chip
Raspberry Pi 3 HiRes
(pi time)

[X]Board top image sans major components
[X]Board bottom image sans major components
[X]Board in Blender
-[X]Measure board
My measurements 84.8x55.9x1 mm curved corners 2.5mm
Official schematics 85x56 curved corners 3mm
-[X]Model
-[X]Texture
-[X]Components on the bottom
--[X]Chip
--[X]SD slot
--[X]Model Solder types
---[X]Add Solder types
--[X]Plastic through clip x2

While reviewing the solder I noticed the ethernet port has two black plastic through clips. They are rounded crosses, added them before adding the chip.

As I already had the image for the chip it was very simple to use the GIMPs clone brush to texture the sides.

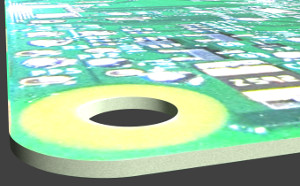
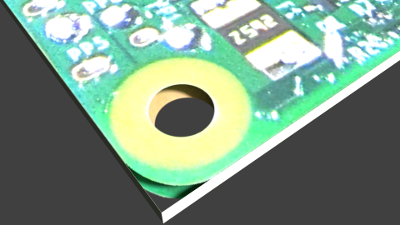
The SD card slot is a simple extruded plane with Bevel and Solidify modifiers and lots of Boolean holes. This left a lot of bad geometry but a ReMesh modify whacked up to Oct tree depth 8 fixed that.
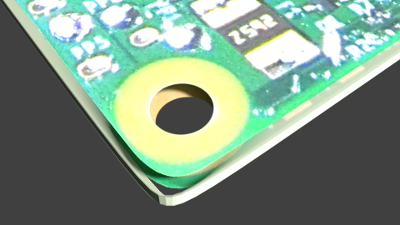
I did try a transparency mask, but the results had no edges and the close up of that looked weird.

FYI the ReMesh has created a beautiful SD card slot, but it is very complicated and I can not see and easy way to simplify the geometry, even though most of it is flat.
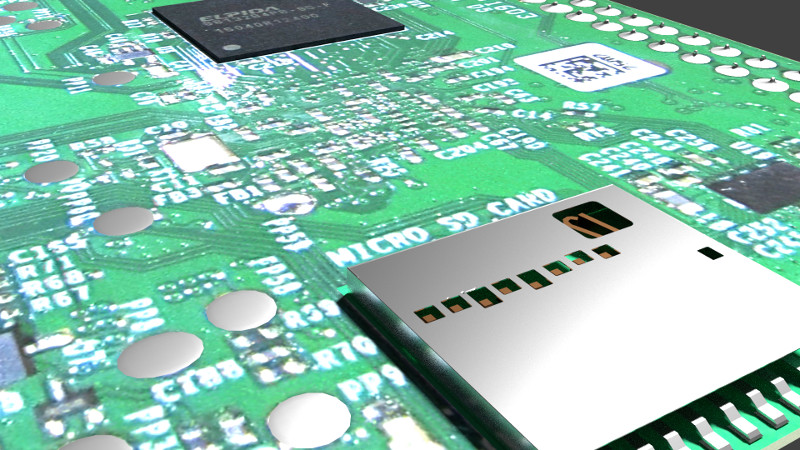
rendering of modelled raspberry pi circuit board close up on SD card slot
29 Apr 2017:
Soldering up the hires pi bottom
Raspberry Pi 3 HiRes
(if not now then when)

[X]Board top image sans major components
[X]Board bottom image sans major components
-[X]Model
-[X]Texture
-[ ]Components on the bottom
--[ ]Chip
--[ ]SD slot
--[X]Model Solder types
---[X]Add Solder types

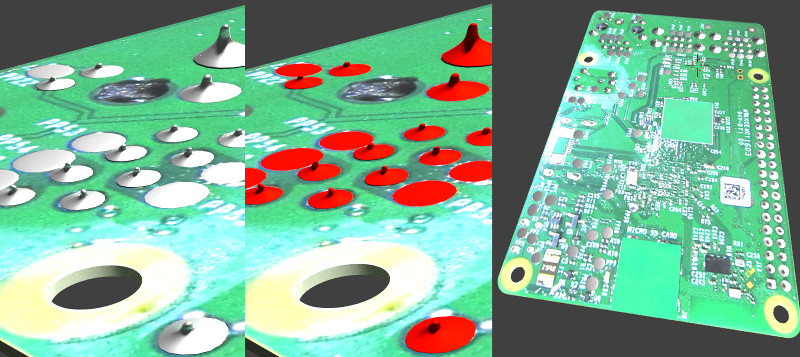
129 solder objects. Four main types and most individually placed and sized. I had to set the material to red to be able to see how they were places against the texture.

raspberry pi 3d render showing solder silver, red and zoomed out
20 Apr 2017:
displaced bump map sues for normal
Quick Blender side

Every time I try and do Bump maps in Cycles it fails or sort of works but not quite.

This was a quick experiment that does work.

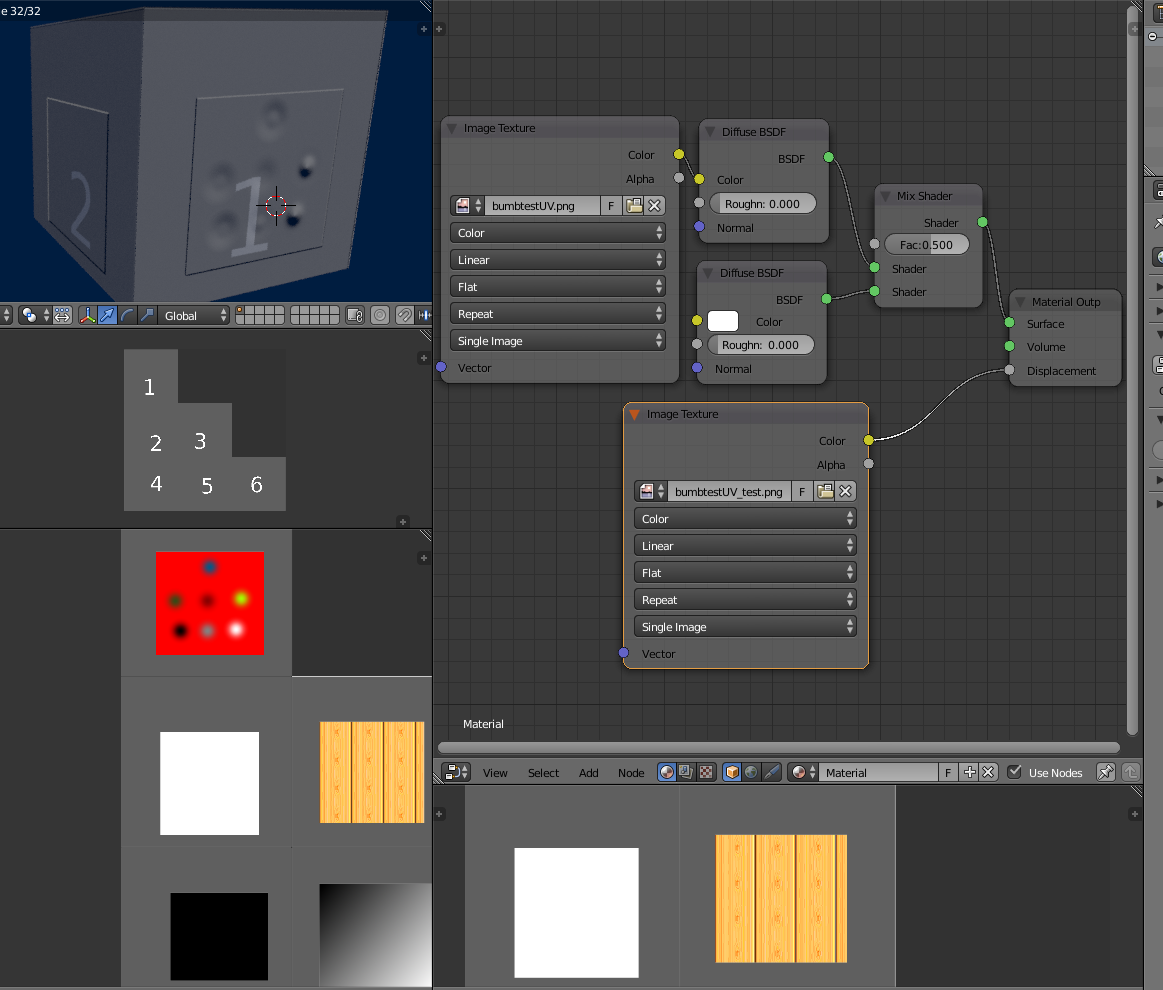
screen shot of 3d software blender showing a displacement via image node on a textured cube

The stepped pyramid with the numbers on is the original UV used as texture then the larger one underneath is the input to the displacement.

You can clearly see how different luminosity affect the height.

Apparently I should be using normal maps, but that is for another day.
17 Apr 2017:
My internets are slow and you want me to do what
I got one of those tech support phone call scams. Was feeling left out as just about everyone I know has had one.

The guy said he was from BT and that my internets were slow, so I led him on a merry goose chase and along with his colleagues managed to rack up 30mins.

Started off with taking ages for my PC to turn on, I then dutifully agreed that Event viewer showed lots of system errors. Then every time he tried to open a browser to teamviewer I would report "500 Server error". He tried another site which I claimed timed out before he changed tack and got me to download Chrome, which mysteriously would not install. At this point I give him the actual error message LUbunut was giving trying to install PC Anywhere. That was when I got bumped for the third time to a technical supervisor and I told them I could not spend any more time with them.

Of course I made sure to big up his original comment and the reason for the call that my Internets were slow. Oh dear, every action took ages and as they all got angrier and louder I had to say I do not understand the line is breaking up with the shouting (which it was).

They promised to call back again today, but unfortunately I was out.

Makes we wonder what their hit rate is vs the hang ups and the time wasters.
11 Apr 2017:
holy bezier pi man
Raspberry Pi 3 HiRes
(cos why not)

[X]Board top image sans major components
[X]Board bottom image sans major components
[X]Board in Blender
-[X]Measure board
My measurements 84.8x55.9x1 mm curved corners 2.5mm
Official schematics 85x56 curved corners 3mm
-[X]Model
-[X]Texture
-[ ]Components on the bottom
--[ ]Chip
--[ ]SD slot
--[ ]Solder types

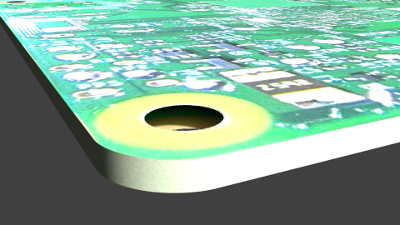
It is nice and Holy now!

I simply added some Bezier circles into the rounded corner 2D plain, extruded it and then touched up the texture map. This is why it is a good idea to keep all the source objects around.
rendering of modelled raspberry pi circuit board extreme close up show fixing holes

There was also the obligatory texture wrangling.
04 Apr 2017:
Alpha pi and holy corners
Raspberry Pi 3 HiRes
(cos no one else is that pedantic)

[X]Board top image sans major components
[X]Board bottom image sans major components
[ ]Board in Blender
-[X]Measure board
My measurements 84.8x55.9x1 mm curved corners 2.5mm
Official schematics 85x56 curved corners 3mm
-[-]Model (partially)
-[X]Texture

So I had done most of the work getting the bottom of board ready, just had not finalised it. Once that was done I used my digital calipers to measure the board. Then I checked online and found the schematics.

My measurements were only 10ths of a millimetre off!

So I had a plan. Create a cube in Blender and scale it to the circuit board size.
rendering of badly modelled raspberry pi circuit board

OK I knew there were rounded corners so I will just apply a subsurf modifier.
rendering of badly modelled raspberry pi circuit board subserf'd

hmmm that seems to have distorted it somewhat.

Time for something new. This time I started with a plane and subdivided the sides to add vertexes to define the corners (using the official measurements) and set the segments to be NURBS to get the curves. The curves looked good but close up they extended and warped much more than just the corners. The fix was just to create more vertexes to define the other end of the curve(away from the corner) and set their location to be the same.
rendering of modelled raspberry pi circuit board extreme close up

And that was it .. a part from the 2 hours of texture wrangling. This included trying to chase down a bizarre single pixel seam that for no good reason existed on the top edge away from all the other texture face islands. Also I had to learn about GIMP s transparency Threshold Alpha... tool to avoid the edges of the textures being see-through in the model.

Next will be to create the holes in the board. Got a couple of ideas ...
01 Apr 2017:
pi recipe
Raspberry Pi 3 HiRes
(cos no one else will)

Drat! convinced myself I had completed both the HiRes top and bottom of the Pi. At least I was able to find official schematics for the size of the board and they match pretty well with my measurements.

[X]Board top image sans major components
[ ]Board bottom image sans major components
[ ]Board in Blender
-[X]Measure board
My measurements 84.8x55.9x1 mm curved corners 2.5mm
Official schematics 85x56 curved corners 3mm
-[ ]Model
-[ ]Texture
loading results, please wait loading animateloading animateloading animate
[More tags]
rss feed

email

root

flog archives


Disclaimer: This page is by me for me, if you are not me then please be aware of the following
I am not responsible for anything that works or does not work including files and pages made available at www.jumpstation.co.uk I am also not responsible for any information(or what you or others do with it) available at www.jumpstation.co.uk In fact I'm not responsible for anything ever, so there!

[Pay4Foss banner long]