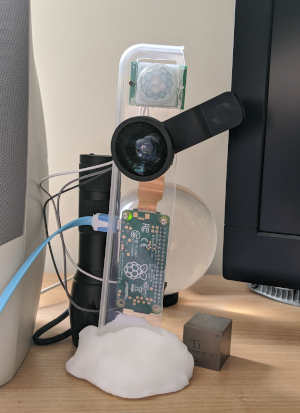
So after
setting up the Raspberry Pi Zero(W) with all the toilet roll scripts and code, I started trying to re-mount it all.
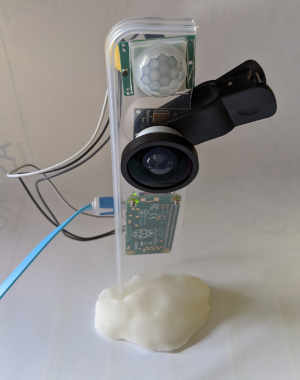
It really did not fit in the toilet roll, so I tried various options with the official Pi Zero case. The orientation of the camera to the board made that impossible. I tried a few different options and eventually settled on a Haribo sweet box lid. This was a nice rigid plastic that did not crack easily and was sturdy enough to hold the weight.
This is where I can really see the value of a 3D printer. I cracked various other bits of plastic before carefully cutting the holes into the lid.
For the base I used something I had bought 15+ years ago, Polymorph. You heat the granules in hot water until they turn transparent then mold the resulting blob into the shape you require. It never goes quite to plan, but the result is a very hard and heavy base that stops the camera assembly toppling over.
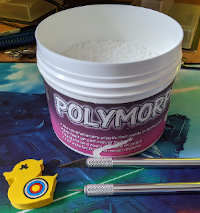
Then using a scalper and pointy thing I carefully made a hole for the PIR and the camera lens. To hold the lens in place, the original wide lens spring clip works as-is. For the PIR I found a short nail and used the back-end of the yellow duck eraser as a cork.
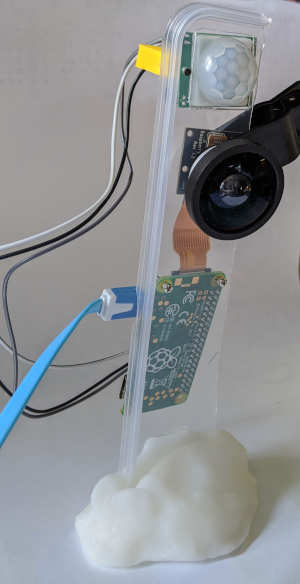
Then I managed to pull the Pi camera lens out of its motherboard. Luckily this just snapped back into place. I also tried hanging the whole thing off the camera ribbon cable. It held ... for a short while.
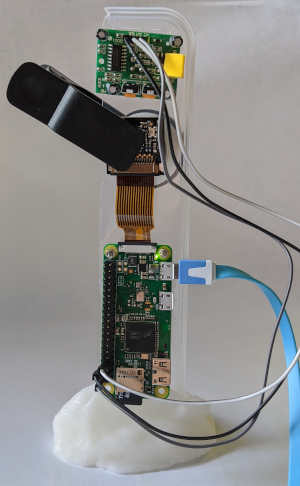
Adding the power cable created even more weight. I did find some old stand-off nuts and bolts. These hold the top of the Pi Zero to the plastic. I tried trimming the Polymorph to better fit the bottom of the Pi but that was hard work that did not really work. I need a 3D printer :(
When I did plug it all in and it lit up my
undershelf lighting there was a huge sigh of relief. The
undershelf lighting had been essential at night due to toilet problems(now resolved).
I cannot quite believe how much time and effort went into something that looks a bit crappy :)
